
Disclaimer: Mladysrecords. This site provides fashion and lifestyle content for informational purposes only.
Natural light is one of the most powerful tools in photography — and one of the least understood. Outdoors, you have no studio controls, no dimmers, no repositionable fixtures. What you have is the sun, the sky, atmospheric conditions, and time. The difference between a flat, forgettable image and one that stops a scroll often comes down to when you shoot, how you position your subject relative to the light source, and how you handle the inevitable problems that come with shooting in open environments.
Why the Time of Day Changes Everything
The angle of sunlight shifts dramatically over the course of a day, and that angle determines the quality, color, and direction of every shadow in your frame. At midday, the sun sits nearly overhead, producing harsh, direct light that flattens facial features and creates unflattering shadows beneath eyes and chins. This is why most experienced photographers treat the two-hour window centered around noon as a hard stop — the light is technically bright but creatively punishing.
The period roughly 30 to 60 minutes after sunrise and before sunset — commonly called golden hour — produces warm, low-angle light that wraps around subjects and extends shadows horizontally. This directional quality gives images a sense of depth that overhead light simply cannot. Blue hour, the 20 to 30 minutes immediately following sunset, offers cooler, diffused ambient light that works particularly well for cityscapes and architectural shots where you want detail without harsh contrast.
A practical note: these windows shift significantly across seasons. During summer, golden hour arrives late in the evening, sometimes past 7:30 p.m., which matters for scheduling shoots with other people. During winter months, it can arrive as early as 4:00 p.m., compressing your usable light window considerably.
Working With Shade Instead of Fighting It
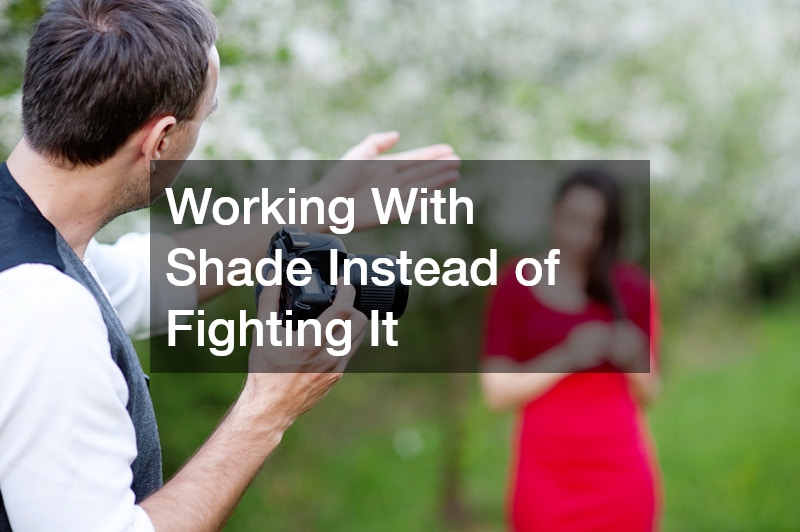
Many photographers avoid shade instinctively, assuming less light means worse images. In practice, open shade — the soft, even light found on the shaded side of a building, under a tree canopy, or beneath an overhang — is one of the most consistent and flattering light sources available outdoors.
What makes shade valuable is its diffusion. Rather than a single directional source, shade wraps subjects evenly and eliminates the harsh specular highlights that come from direct sun. The trade-off is color temperature: shaded environments pick up blue and green tones from the sky and surrounding foliage, which can make skin tones appear cool or slightly sickly without correction.
The solution is straightforward. Warming your white balance by 200 to 400 Kelvin above the camera’s auto setting typically restores neutral skin tones without introducing a yellow cast. If shooting in RAW format, this adjustment can be made losslessly in post-processing, which gives you more flexibility than relying on in-camera presets.
Avoid the edge of shade — the strip where direct sun meets shadow. Subjects placed in this transition zone show uneven lighting across one side of the face, a problem that is genuinely difficult to correct in editing.
Using Reflectors and Diffusers Without Overcomplicating the Setup
When natural light isn’t cooperative, simple modifiers make a measurable difference. A 5-in-1 collapsible reflector, which retails for $15 to $40, gives you a white reflector, a silver reflector, a gold reflector, a black flag, and a translucent diffuser panel in a single portable kit.
The choice between silver and white reflects a meaningful trade-off. Silver bounces more light and introduces a slight cool cast — useful for cutting through warm golden hour light when you need to fill shadows without warming the scene further. White bounces less light but maintains a neutral color temperature, making it the safer default for portrait work in mixed conditions.
Diffusers solve a different problem. Held between a direct sun source and your subject — ideally by an assistant or mounted on a stand — a translucent panel converts harsh direct sunlight into something closer to window light. The catch is size: a 32-inch diffuser panel covers a face cleanly but won’t wrap a full-length fashion shot. For larger subjects, a 5-foot shoot-through umbrella rigged to a portable stand gives more coverage, though it becomes a liability in any wind above a gentle breeze.
Gold reflectors deserve specific mention. They add significant warmth and are tempting to overuse during golden hour. In most cases, pairing a gold reflector with already-warm light pushes skin tones into orange territory that reads as artificial, not flattering.
Backlight and Silhouettes — Risk and Reward
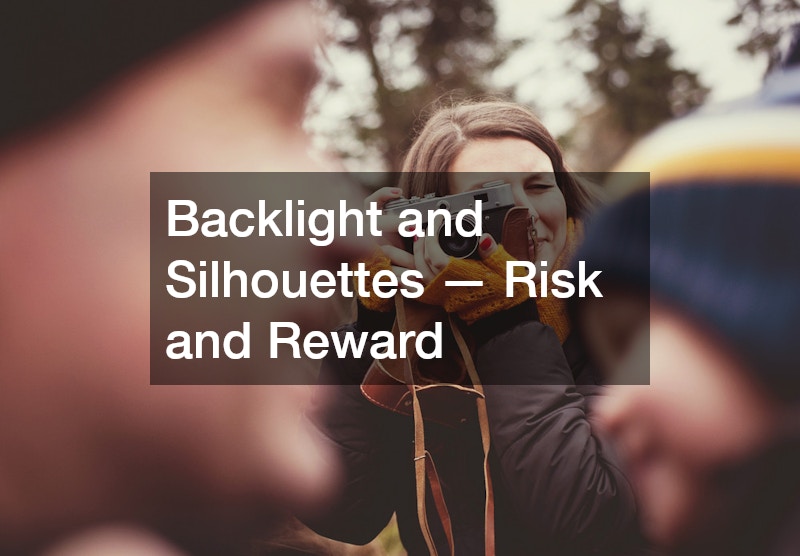
Shooting with the sun directly behind your subject is the lighting choice with the highest ceiling and the widest failure mode. Done well, backlight creates a luminous rim around the subject, separates them cleanly from the background, and produces images with a distinctly editorial quality. Done poorly, the subject goes dark, the background blows out, and you’re left with an underexposed silhouette you didn’t intend.
The key decision is whether to expose for the subject or for the background. Exposing for the subject — achieved by dialing in positive exposure compensation, typically between +1 and +2 stops, or by spot metering on the face — recovers facial detail but washes out the sky. Exposing for the background produces true silhouettes. Both are legitimate choices, but they need to be intentional.
A wedding photographer working outdoor ceremonies understands this trade-off instinctively: positioning subjects so the sun sets behind them during vows produces backlit images with emotional weight, but demands fast meter adjustments when clouds shift the ambient light unexpectedly.
Lens flare is a companion risk. Shooting directly into the sun introduces flare elements — polygonal artifacts and haze — that can either enhance or destroy an image depending on their placement. Keeping flare out of the subject’s face while allowing it into the corners or upper edge of the frame typically reads as intentional rather than accidental.
Overcast Conditions as a Usable Tool
Flat, overcast skies act as a natural giant softbox, diffusing the sun evenly across the entire scene. The common mistake is treating this as a second-best option. For close-up portrait work, detail-heavy fashion photography, or any shoot requiring even light across a wide area, overcast conditions are often superior to golden hour.
The challenge is contrast — or rather, the absence of it. Images shot under heavy cloud cover can look flat without some deliberate shaping. Using a reflector below and slightly in front of the subject adds a catchlight to the eyes and lifts shadow areas on the face, reintroducing the dimension that direct light would otherwise provide.
For outdoor fashion work specifically, overcast light shows fabric texture and color saturation more accurately than golden hour light, which adds warmth that may not represent the garment’s actual color.
When the Shot Is Worth Taking Seriously
Understanding outdoor light is one part of the equation. The other is knowing which conditions genuinely serve the image you’re trying to make, and being willing to restructure a shoot around them rather than forcing the light to cooperate.
Schedule shoots around light windows rather than convenience — a 6:00 a.m. golden hour session requires more logistical planning but produces consistently better results than a midday session with reflectors trying to compensate. Scout locations at the same time of day you plan to shoot, noting where shadows fall and which directions give you clean backgrounds. The photographers who produce consistently strong outdoor work aren’t always the most technically advanced — they’ve simply done the location analysis that turns unpredictable natural light into a repeatable advantage.
