
Disclaimer: Mladysrecords. This site provides fashion and lifestyle content for informational purposes only.
Being photographed—whether for a family portrait, a professional headshot, or a special occasion—can feel more nerve-wracking than being behind the camera. The good news is that looking your best in front of a lens isn’t about drastic transformations, but about small, thoughtful choices made in the days and weeks leading up to your session. From skincare habits to wardrobe decisions, a little planning goes a long way toward helping you feel confident and photograph naturally. This guide walks through practical, research-backed steps anyone can take to show up looking and feeling like their best self.
- Start With Healthy Skin From the Inside Out
- Perfect Your Smile Before the Camera Clicks
- Consider Your Complexion and Sun-Kissed Glow
- Hair That Photographs Beautifully
- Hands and Nails Deserve Attention Too
- Accessorizing With Intention
- Exploring Subtle Enhancements
- Choosing Wardrobe and Color Palettes
- Practicing Posture and Natural Expression
Start With Healthy Skin From the Inside Out
Great skin in photographs almost always starts with hydration and nutrition, not just products applied the morning of a shoot. Drinking plenty of clean water in the weeks before a portrait session can visibly improve skin texture and reduce puffiness, and dermatologists often point to consistent daily intake—roughly eight glasses, or more depending on activity level—as the baseline for a healthy, camera-ready complexion. Many people find that installing a local water filter at home encourages them to drink more simply because the taste and clarity improve so noticeably, removing the mental barrier that comes with flat-tasting or heavily chlorinated tap water.
Filtered water also removes chlorine, heavy metals, and sediment that can dry out skin over time, stripping natural oils and leaving a dull, uneven surface that shows up under studio lighting. This matters more than people realize when it comes to photographing well, since cameras and professional lighting setups tend to exaggerate texture, flakiness, and redness far more than the naked eye does.
Beyond water intake, nutrition plays a supporting role: foods rich in omega-3 fatty acids, antioxidants, and vitamin C can help skin appear plumper and more even-toned within just a few weeks of consistent eating. Cutting back on excess sodium and alcohol in the days leading up to a shoot can also reduce under-eye puffiness and water retention. Together, these small, sustained habits build a foundation that no amount of last-minute makeup or retouching can fully replicate.
Great portraits start well before the camera, with skin that looks calm, even, and cared for. Hydration matters, but a consistent skincare routine—cleansing, moisturizing, and sun protection practiced daily rather than the night before a shoot—makes the biggest visible difference over time. Photographers often say that skin texture reads more clearly on camera than in person, so small, steady habits pay off far more than a last-minute face mask.
If you’re dealing with breakouts, irritation, or an unexpected rash before a big event, resist the urge to experiment with something new and harsh. A quick conversation with the pharmacist at your local pharmacy can help you find a gentle, effective product without a prescription, whether that’s a hydrocortisone cream for sudden redness or a non-comedogenic moisturizer for reactive skin.
Pharmacists are often underused resources for skincare advice. They can point you toward options suited to your specific skin type, flag ingredients that might trigger sensitivity, and even suggest which products play well together so you’re not layering on something that causes further irritation right before you’re in front of a lens.
- Drink water consistently for at least a week before your session, aiming for 8 glasses a day rather than chugging a bottle the morning of
- Cut back on sodium and alcohol in the 48 hours prior, since both can cause puffiness and dull, dehydrated-looking skin
- Avoid introducing new skincare products, retinoids, or chemical peels right before a shoot — stick to your tried-and-true routine
- Ask a pharmacist about gentle exfoliants or hydrating serums, ideally testing anything new at least two weeks out to rule out reactions
- Get 7-9 hours of sleep in the days leading up to your portrait to reduce under-eye puffiness and give skin time to repair overnight
- Consider a light facial massage or cool jade roller the morning of to reduce inflammation and boost circulation for a natural glow
Perfect Your Smile Before the Camera Clicks

A genuine, confident smile is one of the most flattering things a person can bring to a portrait, and healthy teeth play a bigger role in that than most people expect. Scheduling a cleaning with your local dentist a few weeks before a photo session gives you time to address any staining, plaque buildup, or minor issues that could otherwise show up in close-up shots. Whitening treatments, when done well in advance, also give your teeth time to settle into a natural-looking shade rather than an overly stark white that can look unnatural under flash photography.
For those with more significant dental concerns, many dental offices now offer same-day cosmetic consultations that can address chipped teeth, gaps, or discoloration before an important event. It is worth calling ahead to ask about scheduling flexibility, since last-minute appointments can sometimes be accommodated for cosmetic touch-ups. Planning this early prevents the stress of trying to fix dental issues the week of your shoot.
- Book a cleaning appointment at least three weeks in advance
- Ask about professional whitening versus at-home kits
- Discuss minor cosmetic bonding for chips or gaps if needed
- Avoid staining foods and drinks the week before your portrait
Consider Your Complexion and Sun-Kissed Glow
A warm, even skin tone can photograph beautifully, but achieving it safely requires some planning. Many people visit a tanning salon in the days before a portrait session to add subtle color, and spray tanning options in particular tend to look more natural under camera lighting than at-home self-tanners applied without guidance. A light or medium tan shade is usually the safest choice, since darker options can sometimes read as muddy or uneven once professional lighting and flash come into play.
Booking a session two to three days ahead, rather than the day before, allows the color to settle evenly and avoids any streaking or unnatural orange tones showing up in photos. This buffer also gives you time to shower, exfoliate lightly, and let any initial guide color wash away, revealing the true, longer-lasting tone underneath.
It’s also worth doing a patch test or trial session at least a week before the actual shoot if you’ve never used a particular salon or formula before. This lets you gauge how your skin reacts, how the color develops over a few days, and whether the shade complements your wardrobe choices and the lighting setup your photographer plans to use.
If you’re planning a spray tan or gradual self-tanner before your session, schedule it two to three days in advance rather than the night before. This gives the color time to settle evenly and avoids the orange undertones or patchiness that can appear when a tan is too fresh, especially under studio lighting or flash photography.
It is important to communicate your goals clearly with the technician, since a light, natural glow almost always photographs better than a deep, dramatic tan. Ask for a shade one level lighter than what you’d normally choose for everyday wear, as cameras tend to intensify color saturation, making tans read darker on screen than they appear in person.
Overly tanned skin can sometimes create harsh contrast with clothing or jewelry in portraits, so subtlety is generally the safer choice for most sessions. This is especially true if you’re wearing white, pastels, or metallic jewelry, since a stark difference between skin tone and wardrobe can draw the eye away from your face.
Pay attention to areas that tend to absorb color unevenly, such as knees, elbows, and hands, and exfoliate beforehand to minimize blotching. If you’re fair-skinned or tan infrequently, consider a patch test a week out to confirm the shade suits your undertones before committing to a full application.
- Schedule a spray tan two to three days before your session so the color has time to settle and look natural on camera
- Do a patch test at least a week beforehand if you’ve never used that salon or solution to avoid surprise reactions or uneven color
- Ask for a light or medium shade rather than the darkest option, since deeper tans can photograph orange under flash or studio lighting
- Exfoliate and shave 24 hours before your appointment, not after, to help the solution absorb evenly
- Wear loose, dark clothing immediately after your appointment to avoid rubbing off the color or staining lighter fabrics
- Avoid activities that cause heavy sweating, swimming, or long hot showers for at least 8-12 hours post-application
- Moisturize daily with a fragrance-free, oil-based lotion to help the tan fade evenly afterward and prevent patchiness
- Pay extra attention to drier areas like elbows, knees, and ankles, where tans tend to fade unevenly first
Hair That Photographs Beautifully
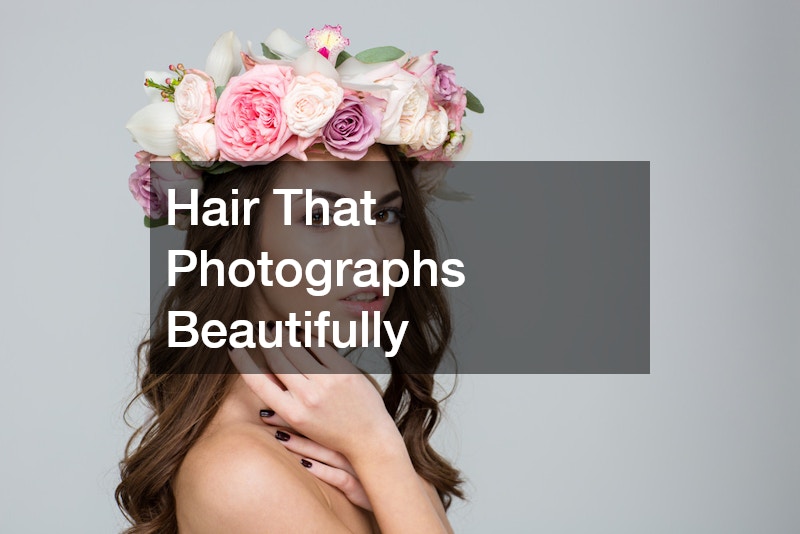
Hair frames the face in every portrait, which means its texture, shine, and style deserve just as much attention as makeup or clothing. Professional hair blowouts are a popular choice before photo sessions because they create smooth, voluminous hair that holds its shape under studio or outdoor lighting far better than air-dried styles. A good blowout also tends to reduce frizz and flyaways that can be distracting in high-resolution portrait images.
Timing matters as much as the technique itself. Scheduling a blowout the same day or the evening before a shoot, rather than several days in advance, helps ensure the style still looks fresh and hasn’t fallen flat by the time the camera comes out.
It’s also worth discussing hair texture with your stylist ahead of time, since fine hair may need lightweight volumizing products while thicker or curlier hair often benefits from smoothing serums to control shine and prevent flatness under bright lights. Bringing reference photos of styles that have photographed well for you in the past gives your stylist a clear benchmark to work toward.
Timing matters here as well, since freshly styled hair sometimes looks too perfect or stiff on camera. Getting a blowout the day before, rather than the morning of, allows the style to relax slightly into a more natural, touchable look that photographs softer and more authentic.
This day-old effect works because natural oils redistribute through the hair overnight, adding subtle texture and shine without looking greasy. Curls loosen into looser waves, volume settles into something more believable, and flyaways calm down, all of which reads as effortless rather than overworked in front of a lens.
If a same-day style is unavoidable, a light dusting of texturizing spray or dry shampoo at the roots, combined with a few minutes of brushing out and finger-tousling, can mimic that relaxed second-day look. Also consider how hair interacts with lighting: matte finishes tend to photograph better than high-shine products, which can create distracting hot spots under studio flashes or direct sun.
- Book your appointment the afternoon before your portrait session, giving color or cuts about 24 hours to settle so hair looks natural rather than “fresh from the salon”
- Bring 2-3 reference photos to show your stylist the desired look, including at least one image taken from the angle your photographer will use
- Avoid heavy products like pomades, glosses, or serums that can create shine or glare under studio lights; opt for a light matte finishing spray instead
- Consider a trim a week ahead if your ends look uneven, which allows any minor styling mishaps time to grow out before the shoot
- Test your planned hairstyle in bright light or under a lamp beforehand to check for flyaways, part lines, or flatness the camera might exaggerate
- Pack travel-size touch-up essentials (bobby pins, a small brush, and texturizing spray) for last-minute adjustments between shots
Hands and Nails Deserve Attention Too
Hands often appear in portraits more than people expect, whether resting on a shoulder, holding a bouquet, or simply folded in a lap. A visit to a nail salon before your session can make a noticeable difference, especially if you choose a neutral or classic polish that won’t distract from the overall composition. Chipped polish or rough cuticles are easy to fix ahead of time but hard to hide once the photos are taken.
For portraits where hands are a focal point, such as engagement or wedding photos, it is worth scheduling your manicure no more than two days before the shoot so the polish stays fresh and unchipped. Simple, well-groomed nails tend to photograph better than elaborate designs, which can pull attention away from the face.
- Choose neutral tones for versatility across different outfits
- Schedule your appointment two days before the session
- Ask for cuticle care in addition to polish
- Bring a small touch-up kit for last-minute chips
Accessorizing With Intention
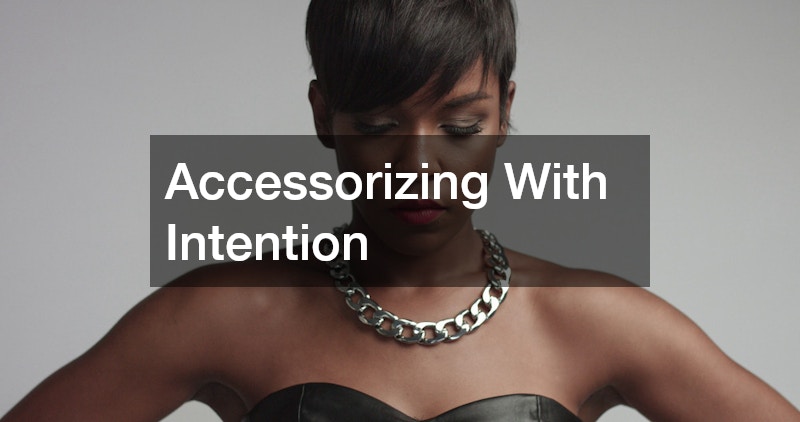
Jewelry can add polish and personality to a portrait, but the wrong choices can also create distracting glare or clash with clothing. Visiting a jewelry store ahead of your session to try on a few pieces under different lighting can help you see how metals and stones actually catch the light, which is very different from how they look in a mirror at home. Simple, well-chosen pieces almost always photograph better than layered or oversized accessories.
It also helps to coordinate jewelry with the overall tone of the portrait rather than choosing pieces in isolation. A staff member at a jewelry store can often offer guidance on which metals complement your skin tone, which is a small detail that makes a noticeable difference in the final images.
- Try on jewelry under bright light before deciding
- Choose one statement piece rather than several competing ones
- Match metal tones to your skin undertone
- Avoid anything overly reflective if shooting outdoors
Exploring Subtle Enhancements
Some people considering portraits, especially for milestone events, look into cosmetic treatments to address specific concerns like volume loss or fine lines. Derma fillers have become a common option for those wanting subtle, temporary results without surgery, and many people schedule these treatments several weeks in advance to allow any swelling to fully resolve before their session. It is important to research providers carefully and choose someone experienced, since natural-looking results depend heavily on technique.
For more significant or long-term changes, some individuals consult a top plastic surgeon well before a major portrait event, such as a milestone birthday or a family legacy photo. These consultations are typically about gathering information and understanding realistic outcomes rather than committing to anything immediately. Anyone considering these options should prioritize finding a board-certified provider and scheduling procedures far enough in advance that any recovery time does not overlap with the portrait date.
- Schedule injectable treatments at least three weeks ahead
- Research provider credentials and before-and-after photos
- Ask detailed questions about recovery time for any procedure
- Prioritize subtle, natural-looking results over dramatic change
Choosing Wardrobe and Color Palettes

What you wear has a bigger visual impact than most people expect, since color and texture interact directly with lighting and background. Solid colors and muted tones generally photograph more flatteringly than busy patterns, which can appear distracting or overwhelming in a still image. Tight stripes, small checks, and busy florals are especially prone to a strobing or moiré effect under camera flash, so it’s best to save them for another occasion.
Choosing colors that complement your skin’s undertone can make a noticeable difference: warmer undertones often look best in olive, rust, or warm browns, while cooler undertones tend to pop in jewel tones like sapphire or emerald. Neutral shades such as navy, charcoal, and soft white are a safe fallback since they photograph well against almost any background. It also helps to consider the setting itself, since a pastel outfit can wash out against a light backdrop, while the same color might stand out beautifully against a darker one.
Fabrics with a bit of texture, like knits, tweed, or subtle weaves, also tend to add depth without competing for attention. Matte fabrics are generally more forgiving than high-shine materials like satin or sequins, which can reflect light unpredictably and draw the eye away from the face. A small amount of texture, layered thoughtfully, gives the eye something interesting to focus on without overwhelming the overall composition.
Coordinating outfits across a group, rather than matching them exactly, creates a cohesive look without appearing overly staged. A good approach is to choose two or three complementary colors—such as navy, blush, and cream—and let each person wear a different combination or proportion of them, rather than putting everyone in identical shirts.
Textures and patterns matter too: mixing a solid with a subtle stripe or a light knit keeps the eye engaged, but too many bold prints in one frame can compete with each other and distract from faces. As a general rule, limit patterns to one or two garments per group and keep everyone else in solids.
It also helps to consider the setting of the portrait, since bright outdoor locations call for different tones than a softly lit indoor studio. Sunlit outdoor scenes tend to favor warmer, earthy palettes like olive, terracotta, or mustard, while indoor studio sessions with neutral backdrops often look best in richer jewel tones or classic black and white. Checking how colors will read against the specific backdrop—whether it’s a beach, a brick wall, or a plain gray sweep—can prevent wardrobe choices from clashing with the environment.
- Choose solid colors over busy patterns; stripes, small florals, and tight checks can shimmer or create moiré distortion on camera
- Favor jewel tones (emerald, sapphire, burgundy) or soft neutrals, which photograph well against most backdrops and complement a range of skin tones
- Coordinate rather than exactly match group outfits — pick a shared color family or theme and let each person vary shade, texture, or style within it
- Avoid all-white or all-black outfits under harsh lighting, since white can blow out highlights and black can lose detail into a muddy silhouette
- If white or black is a must, add a contrasting accessory like a scarf, belt, or jewelry to maintain visual separation and depth
- Try on outfits and take test photos beforehand, checking how colors and fabrics render under your actual shoot lighting, whether natural daylight or studio flash
- Review test shots on a larger screen, not just a phone, to catch texture clashes, wrinkles, or unflattering fit before the real session
Practicing Posture and Natural Expression
Even with every other detail perfected, posture and expression ultimately determine how comfortable and confident a person looks in a portrait. Practicing in front of a mirror or taking casual selfies beforehand can help identify your most natural angles and smile. Small adjustments, like relaxing the shoulders and tilting the chin slightly downward, often make a bigger visual difference than people expect.
Confidence tends to photograph better than perfection, so focusing on feeling comfortable rather than forcing a pose usually produces better results. Taking a few deep breaths before the camera starts clicking can also help ease tension that often shows up in facial expressions.
- Practice smiling naturally in a mirror beforehand
- Relax shoulders and avoid stiff, forced poses
- Take a few deep breaths right before shooting begins
- Focus on genuine expressions rather than perfect symmetry
Presenting your best self in a portrait is less about last-minute miracles and more about thoughtful preparation across several small areas, from skin and hair to wardrobe and posture. By spacing out appointments and treatments over the weeks leading up to your session, you give yourself time to look and feel genuinely confident rather than rushed. Start with the basics like hydration, skincare, and a great haircare routine, then layer in any additional touches that feel right for you. With a bit of planning, you can walk into your next portrait session feeling prepared, comfortable, and ready to be photographed.
